Diy Transfer Paper For Fabric
The cricut does this to help identify the exact location of your graphic so it can get a clean cut around the edges. You’ll notice your cricut scans the black square first.
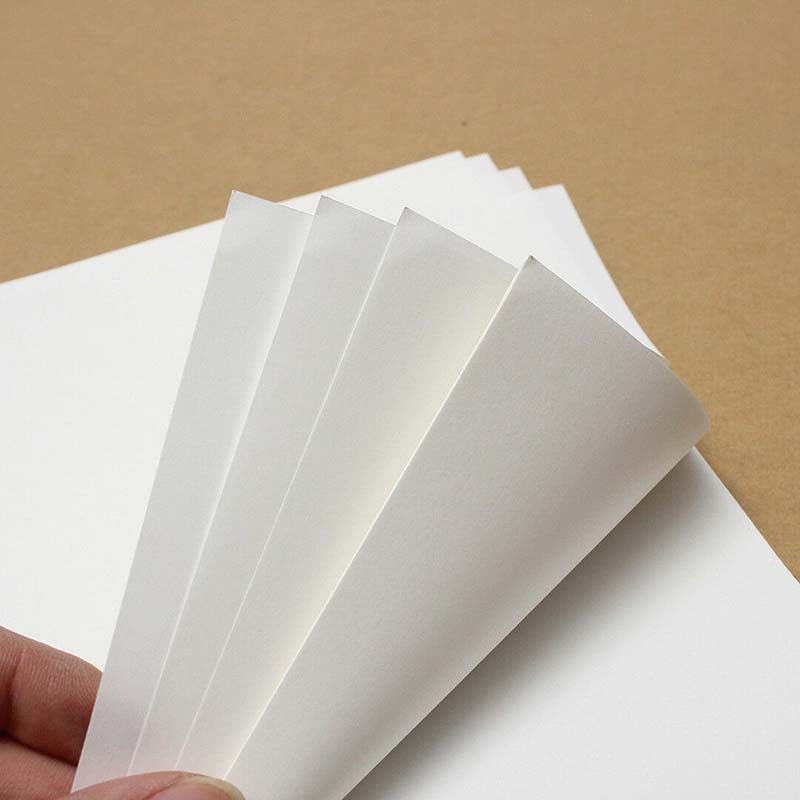
10Pcs New A4 Light Fabric DIY Cloth Sublimation transfer Paper Shopee
This transfer paper made by avery is specifically designed to be used on light colored fabrics.
Diy transfer paper for fabric. You can use a warm iron to “fuse” the waxy side of freezer paper to fabric, cut to size and zip the whole thing through the printer. Paper will begin to vanish before your eyes and a beautiful image will appear! To make our homemade transfer paper we’ll need a sheet of tracing paper, we’ll need a dark pencil, some solvent and something to spread around the solvent.
Heat transfer paper is typically made for inkjet printers, so it can be tough to find a standup heat transfer paper that’s compatible with laser printers. You can get these kitchen herb images in my resource library (for personal use only). Light fabric transfer 3271 (pack of 6) light fabric transfer 3275 (pack of 12)
It’s important to cover the paper completely—i generally do several layers of graphite, turning the paper between each layer so that the paper is completely covered. Diyfabrictransfer creates clothing iron on transfers (also called heat press transfers, fabric transfers, clothing transfers), such as iron on designs, iron on labels, iron on logos, iron on letters, iron on numbers, iron on names for t shirts, caps, jeans, jackets, tank tops, underwears and. The light transfer paper works best on whites and pastels, anything with a more solid color and the transfer’s outline with be painfully obvious.
If your design has text, you will want to reverse the image before printing. The freezer paper pulls right off without distorting the fabric. This may take a while and there will be several layers of paper to remove.
Check out our fabric transfer paper selection for the very best in unique or custom, handmade pieces from our shops. Take some water and dab it onto the paper. Just personalize, print and apply with an iron or heat press.
Carefully pull up an edge to see if the design has transferred trying not to shift the fabric or paper. You’ve got a crisp image on fabric. For this specific transfer paper i had to upload the image to avery’s site prior to printing.
Place the ink side of the paper to the right side of your fabric. The paper will work with many different fabrics. The package comes with 6 sheets of 8.5 x 11 transfer paper.
Press with a hot, dry iron. Set your base material to light card stock to ensure a clean cut through the paper. And let it dry for a couple of hours or overnight.
Load the wax paper into the printer and hit print! Place the paper face down onto the fabric. This one fits the bill.
It helps if you put the concave curving side down, i find. Turn your iron onto medium heat and apply firm pressure against the transfer paper’s backing. Step 1) i started out by creating the kitchen herb graphics.
See more ideas about crafts, diy, diy crafts. Light transfer paper has a transparent background, while the dark has a solid white. *wood/item you are transferring to.
This will reverse your image, so use a symmetrical pattern. Let the ink dry, and peel off the freezer paper. *popsicle stick or credit card (for transferring) *image/text you are wanting to transfer.
For this project, i used already painted scrap pieces of wood. Use your fingers to rub the paper of. Moving quickly, place it facedown onto the surface of your fabric.
Make sure your image is flipped prior to printing as the image goes face down on the fabric. Products choose the fabric transfer that matches your material: Shade one side of the paper with several layers of graphite.
Lay the design on the fabric so it’s aligned with where you want it to transfer. In this video i will be showing you how to use avery iron on transfer paper for light fabrics. The solid white transfer background works best on solid and dark colors, but you need to make sure you that your cut out out your design very.
First up, here are supplies needed: Heat transfer paper premium red line for dark fabric 25 sheets 8.5 x 11. Now you have your image on the wax paper.
Make sure you don't rub to hard, or you will scratch the image! Paper towels will work, i’ve chosen a cotton ball here. Grab a sponge and a small glass of water.
Once your sponge is wet, rub over the paper in gentle, small circles. Welcome back to another video. Making your graphite transfer paper.
Careful, the ink is still wet! Load your mat and press go to let the cricut do the cutting. Cut the wax paper to about the width of a regular sheet of paper.
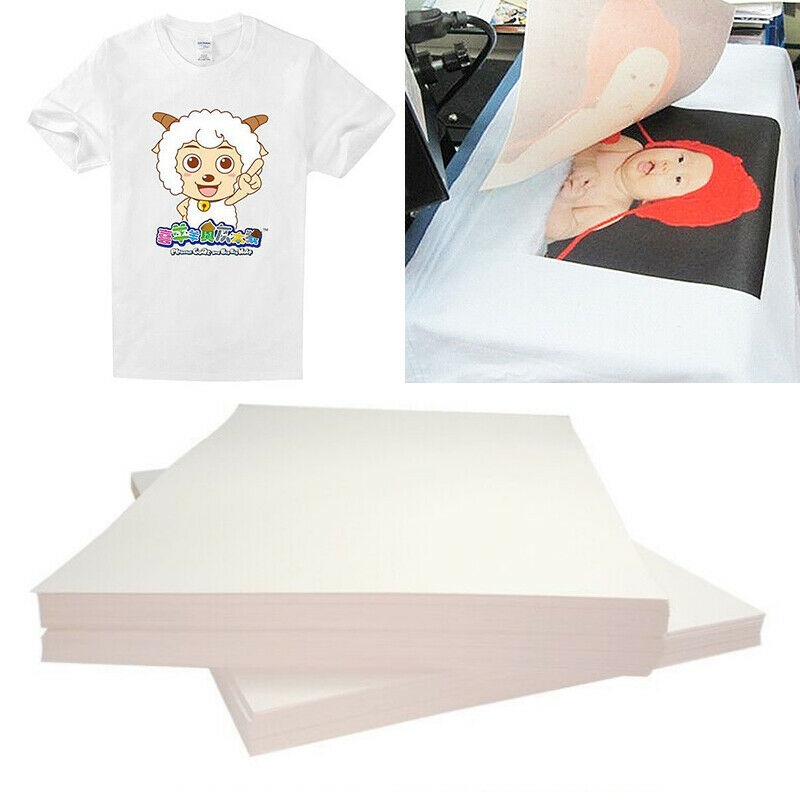
50 Sheets Waterproof TShirt Iron on Inkjet Heat Transfer Paper for DIY

DIY Design Fabric Transfer Paper A4 Iron On Inkjet Heat Transfer
Printable Heat Fabric Transfer Paper for DIY Projects on

50+ Awesome DIY Image Transfer Projects 2017 Image transfer, Fun diys

How to Transfer an Image onto Fabric Wax paper transfers, Diy prints

Cotonie A4 Printable Heat Fabric Transfer Paper For DIY Cup And Cloth

INTSUPERMAI 20 Sheets A4 Inkjet Dark Transfer Paper for DIY Tshirt
DIY Design Fabric Transfer Paper A4 Iron On Inkjet Heat Transfer
10/20pc A4 Printable Heat Fabric Transfer Paper For DIY Cup And Cloth

DIY Design Fabric Transfer Paper GizmoPeak

Heat transfer paper allows you to tattoo paper designs onto fabric

DIY Design Fabric Transfer Paper NeesGlobal
Wax Paper Graphic Transfers Wax paper, Transfer crafts, Wax paper

20Pcs Heat Transfer Paper Sheets TShirt Print On Light Fabric Cloth
DIY Design Fabric Transfer Paper A4 Iron On Inkjet Heat Transfer
Pattern transfer on dark fabrics with transfer paper (Pumora) Diy

DIY Design Fabric Transfer Paper NeesGlobal
10Pcs A4 Heat Transfer Paper for DIY T Shirt Painting Iron On Paper for
Heat Transfer Paper Iron on Paper Durable A4 10 Sheets Light Color Diy